Having just released our latest Premium 3D model template, we wanted to walk you through how easy it is to make the transition from 2D to 3D. In the early days of vehicle livery design, creatives either took photographs of their vehicles they were designing for or illustrated them using vector based graphics software such as Adobe Illustrator or Corel Draw. 2D reigned supreme as the 3D world was a completely different realm, and most didn’t want to touch 3D as it meant a steep learning curve that busy designers simply didn’t have time for.
With Motorsport Graphics Premium 3D Templates the days of steep learning are behind you. We’ve taken the 2D element that you already know so well as used this as the basis of our 3D models UVs. A UV is like the skin that wraps around a model. You may have seen these used in gaming when livery maps are made available for users to create their own liveries. These are often optimised for gaming and far from easy to use without experience. We’ve streamlined the process so the transition from 2D to 3D is like nothing you’ve experienced before. With Adobe Substance, your 2D designs can be overlaid into 3D in a few very simple steps.
Step 1 – The photoshop livery layout
Once you’ve purchased and downloaded your premium 3D model template and unzipped the files you will see a range of different file formats. If you’re an Adobe Creative Cloud user you’ll perhaps already recognise the Adobe Dimension and Photoshop files. The Photoshop file is the first one you’ll need to open. Once opened you should be greeted with something similar to the below.

Ensure the layers window is open. You will notice the funny dark lines over the top of the vehicle. These are the UV maps that get referenced by the 3D model. It’s important that you do not move or delete this layer to ensure you are always working in the right area. These red layers can be turned off before saving your file. Each vehicle view has its’ own folder. If you open the Right view folder you will see more coloured layers.

The yellow marked layers are the main design layers, with the top level Design layer being the mask under which your designs will sit. Add your designs underneath the mask layer.

Once you have added your designed into each vehicle view layer you can turn off the top 2 layers (LABELS and UV – DO NOT EDIT). This is your 2D livery as you would normally delivery, ready for export. Straight forward, right? The next step is getting your design ready to import into your 3D model.

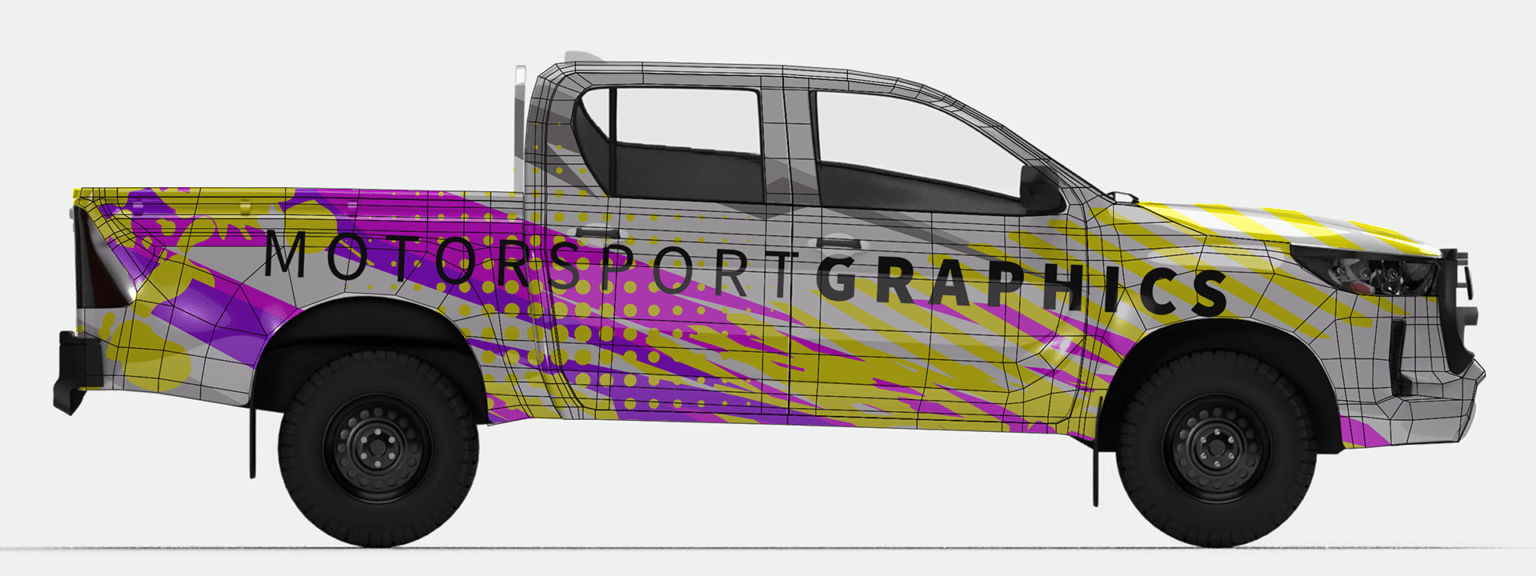
Open each vehicle view layer and turn off each red layer. Your file should start to look something like the below, with no shadows, highlights or vehicle details.

Before saving your file, double check your design is aligned to the UV by turning on the UV – DO NOT EDIT layer and ensuring that everything matches up. Once your are happy, turn this layer off again so your file looks like the above.

Save your photoshop file, and open the supplied Adobe Dimension file (.dn). When the files is open your screen should look similar to the below.

By doubled clicking anywhere on the main bodywork of the model (by bodywork we mean where graphics are applied, so not windows, wheels, lights etc). After double clicking the bodywork you will see a materials panel appear n the right hand side.

In the right panel under properties, double click the icon to the right of Base Color

Now simply select the Photoshop file you worked on previously and it will appear as the vehicle skin. That’s it, you’re ready to render. For more tutorials on Dimension, including render, moving the camera and many more, please visit Adobe. For any further questions please get in touch with us.